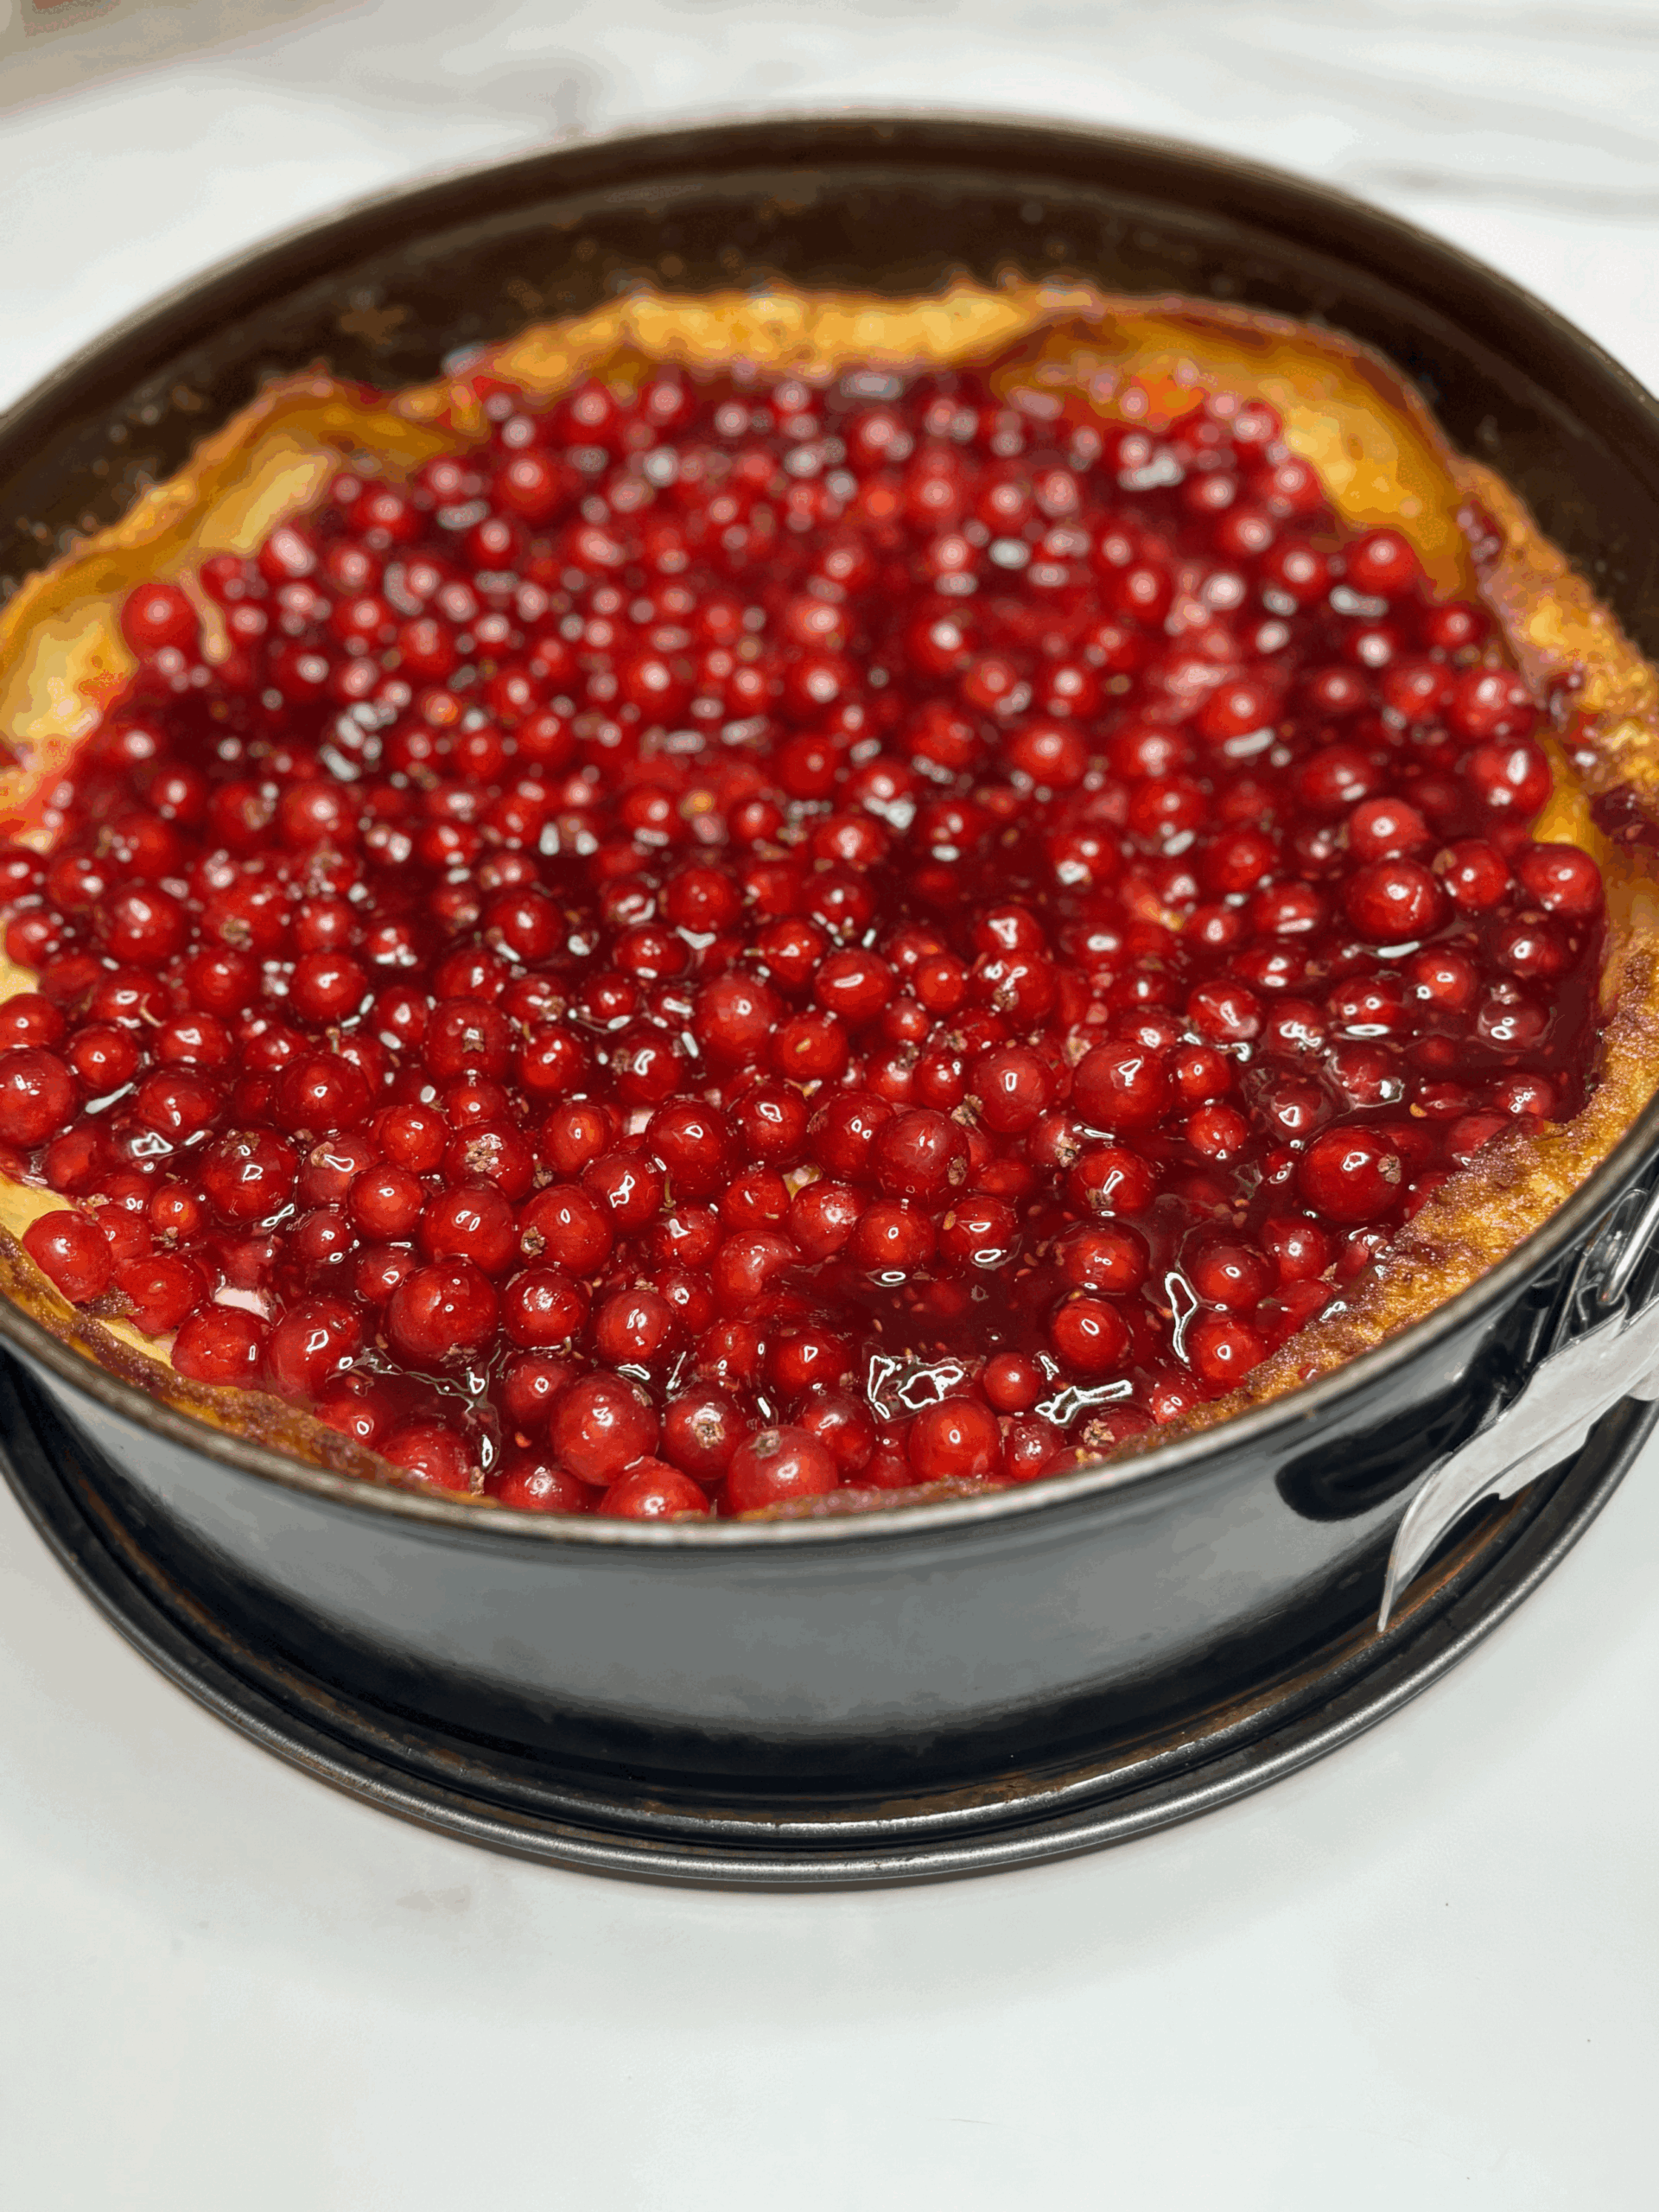
Red Currant Cake Recipe
Jump to Recipe

Among my top three cakes is this Red Currant Cake—once you find those jewel-like berries, you have to bake it! Red currants, or “Johannisbeeren” in Germany, can be elusive in the U.S., but their bright tartness paired with a tender, sweet crumb creates a harmony that’s simply irresistible. Whether you’re honoring a German tradition or experimenting in your kitchen, these glossy red berries bring authentic flavor and stunning visual appeal to every slice.

The Red Currant Cake is one of my top three cakes. Red currants are hard to find in the U.S., but when I do, I love to bake this cake. The tangy flavor of the red currants combined with a sweet cake creates a perfect balance that’s hard to resist.
Red currants, known as “Johannisbeeren” in Germany, are a beloved ingredient that adds a delightful tartness to various desserts and preserves.
Whether you’re making a traditional German dessert or experimenting in your own kitchen, incorporating red currants will bring a taste of Germany to your table. Remember, these little berries not only taste great but also add a beautiful visual element to your treats!

Red Currant Cake Recipe
Tangy red currants (“Johannisbeeren”) meet sweet cake in this vibrant German-inspired dessert. These ruby berries add balanced tartness and beautiful color—an irresistible slice of Germany you’ll love.
Ingredients
Equipment
Method
- Prepare the Dry Ingredients: In a large mixing bowl, whisk together the flour, salt, and sugar until well combined.
- Cut in the Butter: Add the chilled, cubed butter to the flour mixture. Using a pastry cutter or your fingers, work the butter into the flour until the mixture resembles coarse crumbs. Be careful not to overwork it; you want small pieces of butter to remain for a flaky texture.
- Add the Wet Ingredients: Add the egg to the flour and butter mixture along with the vanilla extract.
- Form the Dough: If you have a stand mixer, you can bypass step 2 by simply placing all the ingredients into a bowl and mixing with the dough hook until it comes together into a smooth ball. Be sure to monitor the dough closely to avoid over mixing. Knead the dough by hand until it becomes smooth and cool to the touch. Then, form it into a ball and flatten it into a disk.
- Roll Out the Dough: After chilling, take the dough out of the refrigerator. On a floured work surface, roll the dough to about ¼ inch thick. Use it to line a removable cake pan. Fill in the sides, as shown in the video below. I like to do this by hand and then trim along the top to create an even edge.
- Refrigerate: I always refrigerate my dough in the cake pan the for a minimum of 30 minutes. Sometimes, I also like to prepare this ahead of time, cover it, and freeze it to pull out on bake day.
- Pre-Bake: Pre-bake crust, prick the bottom with a fork to prevent bubbling. Place a piece of parchment paper over the crust and fill it with pie weights or dried beans. Bake at 350°F (180°C) for about 12 minutes.
- Make Filling: While you pre-bake your crust, place eggs and sugar in a bowl and whisk them together until the mixture starts to become fluffy. Add the cold cream and continue whisking until the mixture resembles whipped cream. Add the cornstarch (this is optional, as it will make your cream firmer; without it, it will remain softer).
- Fill Cake: Pull your pre-baked cake out of the oven and carefully remove the pie weights. Pour your filling into the cake pan, ensuring it spreads evenly.
- Return the cake to the oven and bake for an additional 25-30 minutes. Keep a close eye on it, as it should turn a lovely golden brown color. However, don’t be alarmed if the cake still appears wobbly in the center—this is perfectly normal.
- Once done, take the cake out of the oven and let it cool at room temperature.
- Add Fruit: Once your cake has cooled down, use a knife to carefully cut around the edges to ensure nothing sticks to the sides. Be gentle during this step to avoid damaging the cake. Heat your raspberry jam until it’s liquid. Pour the red currants evenly over the cake, then take a pastry brush and gently brush the hot raspberry jam over the red currants.
Notes
I invite you to share your thoughts in the comments below! I’m eager to hear what you think, as your feedback is incredibly valuable to me. Whether it’s about a recipe you’ve made, a suggestion, or if you need further clarification on something, please let me know. Let’s embark on this journey together!
